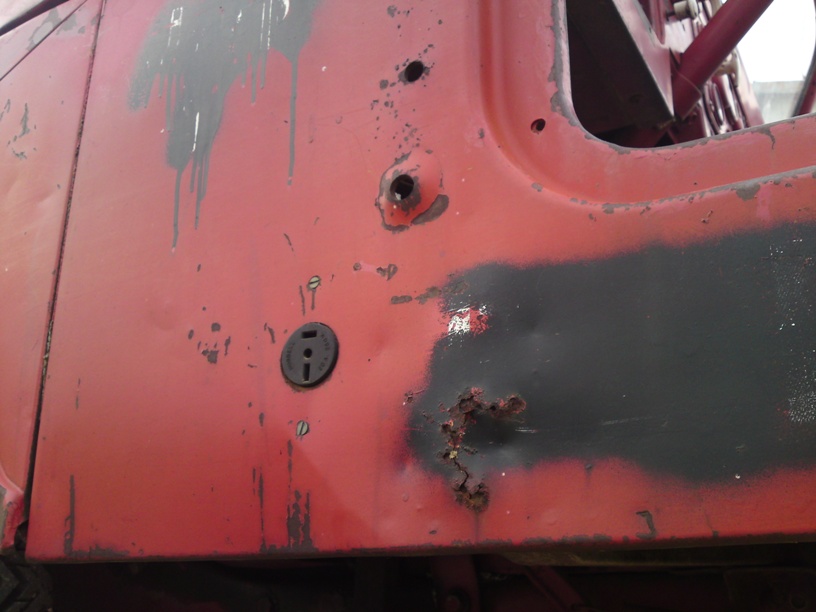
You walk out to your keep and marvel in the power and beauty only to notice the eyesore rust spot. What can you do about it?
Option 1:
Spend lots of money on a quality paint job! Yes you can pamper your baby with a new coat of paint that could cost thousands of dollars. This of course would last you a month or two (or less) depending on how you define “off-road”.
Option 2:
Just ignore it, it will go away! While this may work with an annoying co-worker, sadly does not work for cold steel. And that rust will only get worse – especially if you live on the east coast.
Option 3:
Do a quick patch-job! Quick you say? Yes, you can easily and quickly patch your baby up in your own driveway (weather permitting). How, you say?
What you’ll need:
- Spray Paint Primer in grey – get a good quality product here
- Spray Paint to color match
- Spray Paint Clear Coat (Important!!)
- Mineral Spirits
- Rag or two
- Painters tape
- Paper bag – something to use to protect the rest of the jeep!
- A sanding disc
- Your choice of a drill, air tool, or other orbital sander
- Sand paper (500 and 1000 grit)
- Mask for dust
- Eye protection (can’t stress enough)
Okay, now what?
- Put on the glasses and dust mask
- Don’t be shy, take that orbital sander and hit that rust with the 500grit. Nice circular motion until you see a nice shiny metal or at least all the flaking paint and major rust is gone. You will see layers of paint as you go.
- Sand just a little outside the area to allow better blending.
- Dab the rag in mineral spirits and clean off the area removing all dust and oils
- mask off the surrounding area leave about 2-4 inches for over-spray and blending
- Take the primer and test spray (not on the jeep). Then hold about 4-6 inches from the sanded area and gently spray by pressing and releasing as you move the can (do not over spray as the paint will run). Only paint the sanded area not the entire masked off section!!
- Let dry for a 5-10 minutes (if the sun’s out this is quick)
- Hit 2 more times with the primer (let dry for 5-10 minutes in between so not to run)
- Take your matched color and test spray. Now hold 4-8 inches from the area. You will want to use quick press motions to gently cover the area (it’s okay to let the grey show through) Let dry about 10 minutes. Only paint the grey area not the entire masked off section.
- hit 2 more times with the color letting dry in between. If more is needed, go right ahead.
- Let dry about 25-30 minutes. (Make sure it’s dry before proceeding)
- Now remove the tape and paper exposing the area.
- take the 1000 grit sand paper and run around the edges to remove any straight lines that may be left from the tape and paint. Don’t over-sand the original paint.
- Now that the paint looks more “blended” take the clear coat (test spray) and hold 4-6 inches while lightly covering the painted and sanded area. It will look faded and not glossy – that’s normal.
- Give it a few minutes and spray with the clear coat again. This time a little heavier but not too much to cause a run (less is better here). Coat a third time after a few minutes.
- You should now have a glossy shiny blended (enough) patch.
If you’re the experimental type, go bold. Paint a patch that looks like a patch, plaid, stripes, skull and bones… whatever you like. This process gives that rust spot 9 layers of paint and it takes a little less that 2 hours.
Tip: If you have several spots, go around to each with each step. Get them all done at the same time.